I finally got around to bottling my dried herbs from last year's garden! They've been hanging by pretty colored ribbons in my walk-in closet, on a drying rack all that time! It's one of those things...I kept saying "oh ya, I gotta get to that" and then I'd walk out of the closet, close the door, go about my day, and completely forget about it for the millionth time!
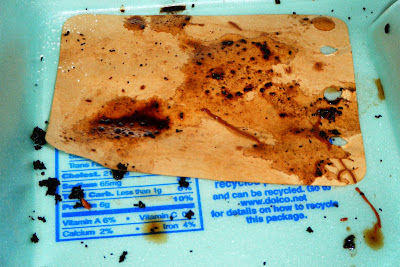
I knew I wanted to make vintage looking labels and I am very happy with the way these turned out. I used light weight, tan colored, pieces of paper. I stained the paper with used coffee grounds...

dripping some coffee from the filter and sprinkling some of the used grounds onto the paper.

I let the paper sit for about an hour and then used a hair dryer to completely dry it.
The result was a great, aged look. I just love it.
I cut the paper into little strips and used tiny alphabet stamps to write the names of the herbs.
Fortunately, I had all of the supplies on hand...being as I am a scrapbooker and card maker from way back. I painted Mod Podge onto the back of the labels and adhered them to the jars. I immediately painted a layer of Mod Podge on top of the labels, being careful to not go off the label onto the glass..but it was easy to wipe away any excess Mod Podge with my finger.
Sealing the labels with Mod Podge helps preserve the label if it gets wet or food gets splattered on it. It can be easily wiped off and dried with a damp towel.
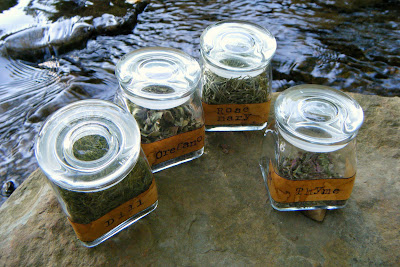
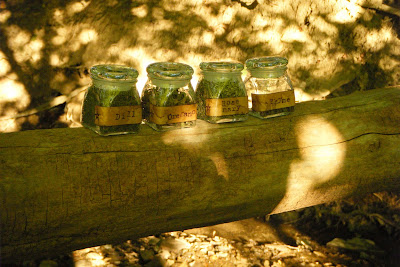
I could not resist photographing these jars out in nature.

We have a small creek behind our house and it is a wonderful back drop for taking pictures.

Of course I took about 30 different shots on various rocks and fallen trees.

It was hard to narrow down the photos that I would share with you!! I am a sucker for shots like these!

